

I am happy to report that I completed my March goal! YAY! It was also turned into the quilt show on time even if I only slept for 3 hours the night before. :)
You can read about the beginning of the quilt here. I found this pattern at CanoeRidgeCreations.com. It was a giant starburst quilt a long. She also has the pattern in a reverse giant starburst which is so cool as well and you can buy the pattern for the mini in her shop. Click here to go to the instructions for the Giant Starburst.

I'm going to be honest. I had trouble with this quilt from the very first second. I purchased the amount of fabric that was required but for 2 of the colors, I didn't have enough. I purchased Kona cotton and it is not 45 inches wide. It's about 42 inches wide - that is not counting the selvedge. I don't use selvedge when I cut my fabrics. I'm not sure if the pattern writter used the selvedge or if she just had wider fabric. I ended up having to go buy more fabric.

I am kind of proud of my quilting. This is the first time that I used different quilting designs in different parts of the quilt. It's also the first time that I used different colors of thread.


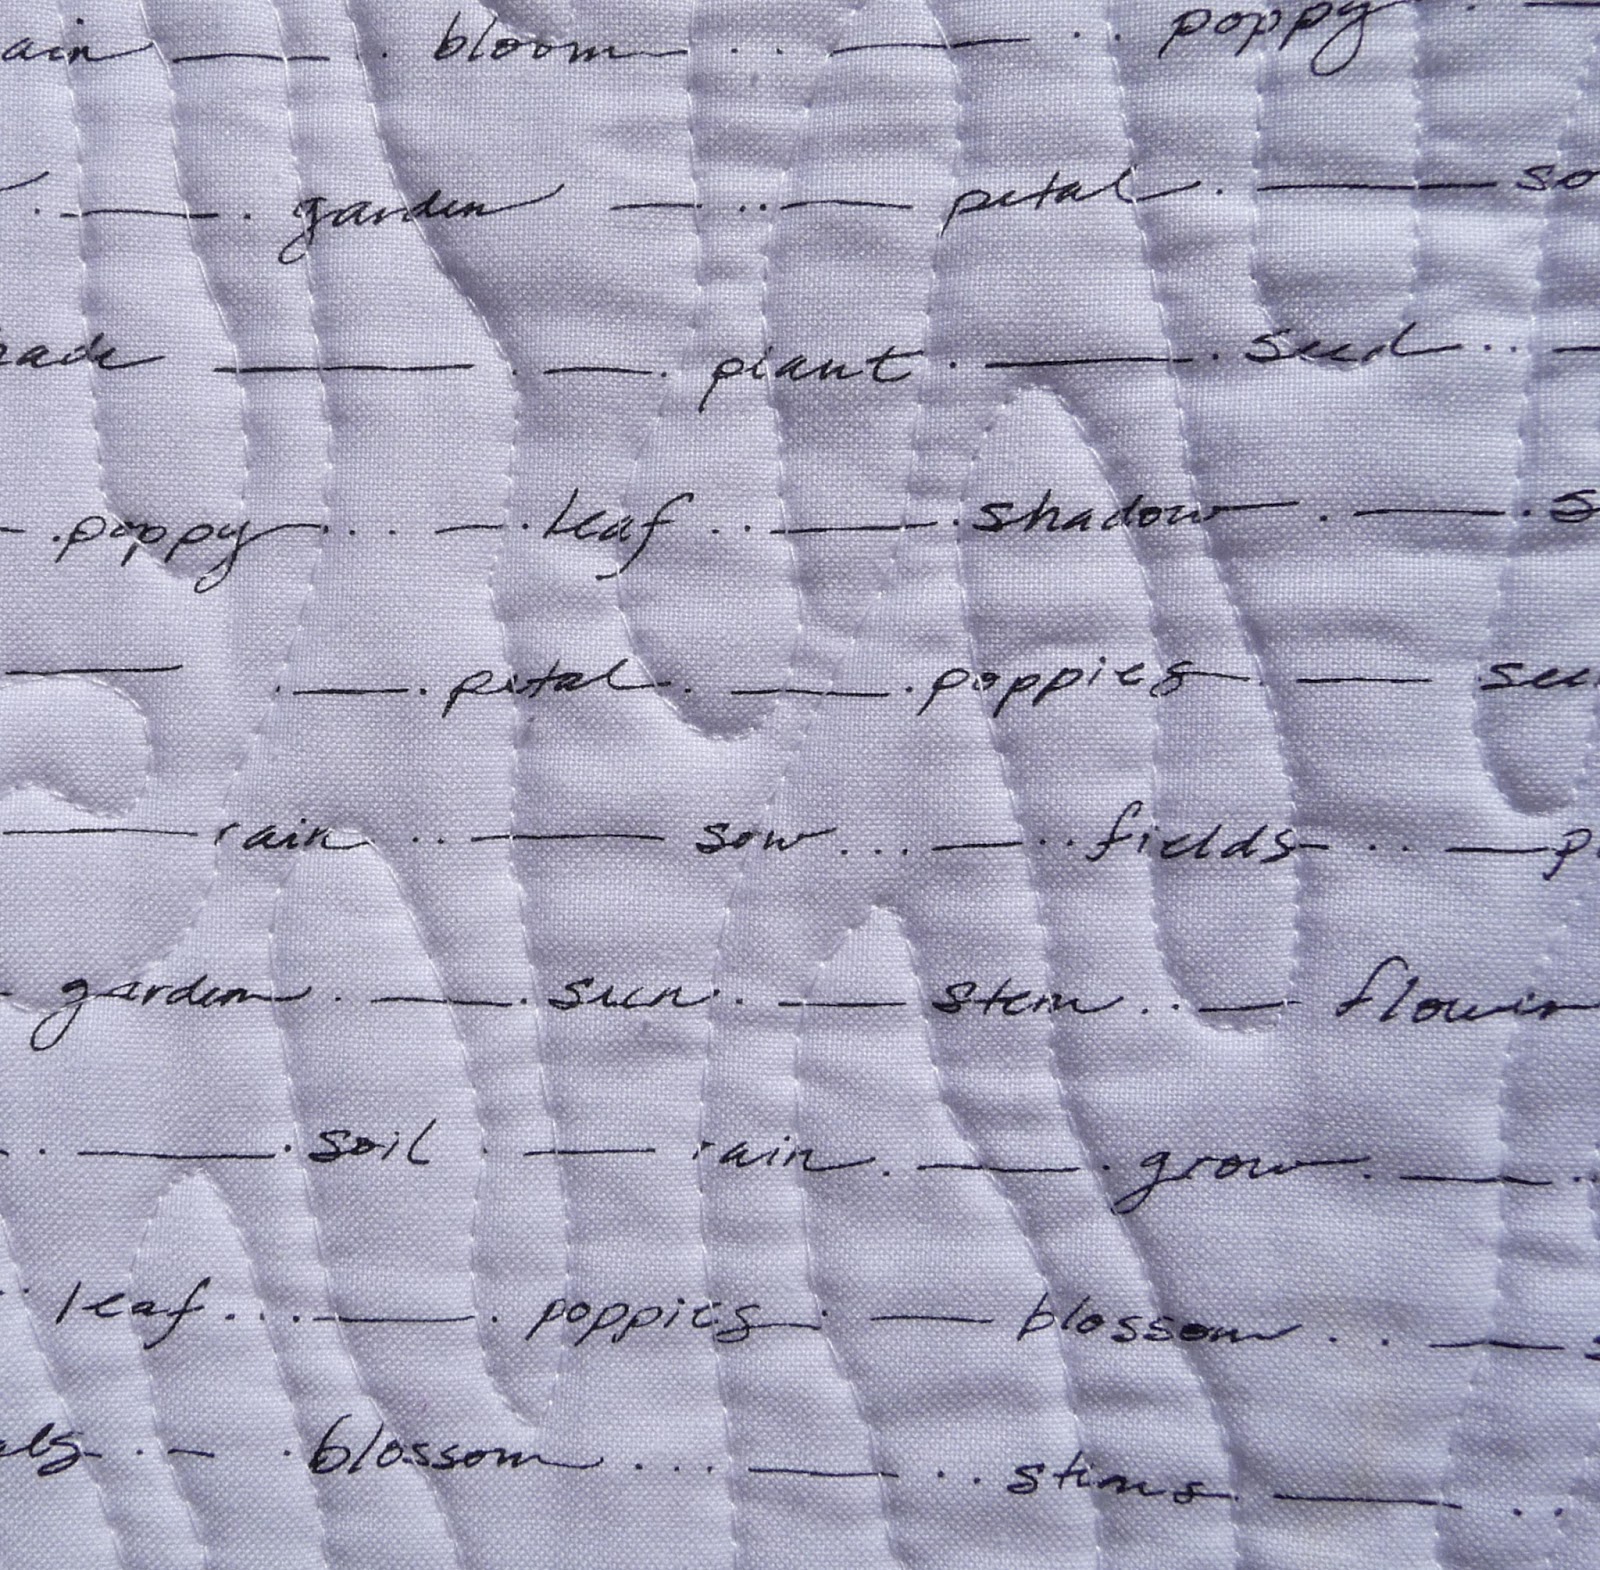
The white fabric is actually a text fabric. It's a very subtle text. I didn't want a dense text because I felt like it would change the color - some dense texts can read gray to me.
I used a loopy meander on the white star areas. The hardest part to do was the center square of the star. It was hard to get through my machine and took forever. I don't know what the deal was with that.

The quilt back is made up of leftover fabric from the front that was cut off when I made my HST's. The floral fabric is the last I have of that - it is from Michael Miller's Pretty Bird line. The yellow and white floral is from Riley Blake and the black and white dotted fabric is from Alexander Henry and is called "the dotted line".


My binding is a hot mess. I put it on at 12 midnight on the night before the quilt show. I knew I wasn't going to win any prizes with this quilt anyway (the competition was pretty stiff and I'm a newbie quilter) and at that point of the night, I just needed to get it done. I do plan to remove the binding and redo it. I love that fabric too much to leave it messed up.


Giant Starburst Quilt
pattern by Megan at Canoe Ridge Creations Blog
Finished size 60 x 60
Fabrics used in the quilt:
Solids are Kona cotton in turquoise, corn yellow, chartreuse, and mulberry.
Text fabric is Poppy Patio by Jill Finley for Henry Glass Studios
Lizzy House Pearl Bracelet in grape jelly for binding
Backing fabrics are listed above.
Pieced and quilted by Tricia Harvey on my domestic machine. March 2014
Thread used was:
White Aurifil 50 wt. color 2024
Colored thread was all Mettler metrosene 100% polyester
yellow - color 0500
blue - 0890
green - 0952
purple - 0459
I learned a few new things while making this quilt as I seem to do with every quilt so I guess that makes up for the frustration I had during the process.
Thanks for reading!
**Linking up to NTT at My Quilt Infatuation and A Lovely Year of Finishes at Fiber Art of All Sorts**
**Linking up to Anything Goes Monday at Stitch by Stitch**
Love your quilt! Sometimes projects just go south and once they do, it just seems like they keep going. . . at least that is how it goes for me! :) I did a star quilt too and I ran out of fabric! Not because of the pattern. . . it was because of my bad math skills haha So glad you hung in there and got it done - it is beautiful! Good luck with the quilt show!
ReplyDeleteThanks!
DeleteI also had trouble with the QAL. It just was not my favorite and used a lot of fabric. I came up short as well. It's too open for me, so I probably will applique or embroider something in the center before quilting it. I love the way you quilted it. It really adds texture to it. I like to use crazy backs when I am practicing/learning fmq because it isn't as easy to see.
ReplyDeleteMoneik, I'm glad I wasn't the only one. For awhile I thought I had cut wrong but I hadn't. I'd love to see yours when you finish.
DeleteI have read your blog post on "" & it was very informative. I will visit your site again. thanks.
ReplyDeleteit looks fantastic! The FMQ looks brilliant to me. I hadn't even noticed the white was a text print until you pointed it out so it definitely reads solid.
ReplyDeleteThanks Wendy! I love this text print.
DeleteOh I've made so many of these mini's I'm sure that I need to make a giant one ... someday.
ReplyDeleteYours is amazing great. Love that you got it to the show in time. :)
Thanks for linking up!
I think your different quilting designs look great, and glad you liked my label tutorial!
ReplyDeleteThanks so much for showing this off at Needle and Thread Thursday!
:) Kelly @ My Quilt Infatuation
Love the color combination.
ReplyDeleteThanks so much! Some of my favorite colors.
DeleteBeautiful colors you chose!! I love the way of quilting, too.
ReplyDeleteMy best,
Gosia,
Thank you so much Gosia. And thanks for reading my blog!
DeleteLovely blog. Thanks for sharing with us.
ReplyDeletereally nice blog. thank you so much for share with us.
ReplyDeleteVery very good website, I really enjoy your article.
ReplyDeleteGreat blog and thanks to share..
ReplyDeleteBest Regards,
clipping path service provider
Love your quilt! Sometimes projects just go south and once they do, it just seems like they keep going. . . at least that is how it goes for me! :) I did a star quilt too and I ran out of fabric! Not because of the pattern. . . it was because of my bad math skills haha So glad you hung in there and got it done - it is beautiful! Good luck with the quilt show!
ReplyDeleteYour Giant Starburst quilt is stunning! I love the different quilting designs and thread colors you used—they add so much character. Despite the challenges, your dedication really shows. The text fabric and the Pretty Bird backing are lovely choices. Quilting the colored parts in long zig zags is a unique touch. Congratulations on completing it for the show, and good luck with future projects!
ReplyDeleteThis post is full of valuable nuggets of wisdom. Great job!
ReplyDeleteVisit Here: Old Photo Restoration Service