Showing posts with label quilty finish. Show all posts

Friday, April 11, 2014

A Friday Finish - Bird Mini Quilt

One month last fall, I can't remember which one, Karen K. Stone (author and quilter) came to our local quilt guild for a speaking engagement and also to teach a workshop. 

Her quilts are fabulous and all original.  I really enjoyed her talk and looking at the quilts she had to show us.  She does a lot of paper piecing, uses embellishments and does a lot of thread painting which I am in awe of.  She hand dies much of the fabric she uses and it was just beautiful.

Her book is wonderful.  The pictures are so great that I think it would make a wonderful coffee table book even if you aren't a quilter.  I love looking at the patterns and pictures.  I couldn't wait to snap up one after her speech was done.  

The workshop day was less impressive.  I'm just biting my tongue to keep myself from typing out all the things I'd like to say but I don't want my blog to come across as mean or snarky - unless I'm trying to be snarky which I'm not.
The online quilting community seems to always be so positive.  I rarely read a negative review about anything be it teachers or notions, books or patterns.  And lets face it, not everything is great.  Not every class you take is going to meet your expectations.  I also try to keep in mind that just because I didn't get what I expected from the class, doesn't mean everyone else was unhappy.

So that's all I'm going to say about that.  Here's my quilty finish that was started in Ms. Stone's workshop.  The pattern is her original pattern.  The outside sawtooth parts are paper pieced and the inside square with the birdie is fussy cut.  Her quilt, that used this pattern, had flowers that had been thread painted in the centers.  It was so lovely.

I ended up making just one block using the workshop material.  I decided to turn it into a mini quilt to hang in my sewing room.  I love the fabric that I used in the quilt - it makes me happy.  

I used it as sort of a practice block for quilting.  I did echo quilting in the center square.  

And free motion quilting on the rest.  I think it was my first free motion quilting project other than the sample sandwiches that I had been practicing with for some time. It's very densely quilted.  I think I was trying to get as much practice in as possible.  lol
 Here is the back.  You can see the echo quilting really well here.  This little quilt has lived in my sewing room for quite some time now because someone had never put the binding on.  Finally, someone - me - did.
 The little mini only measures 11.5 x 11.5 inches.
    The backing fabric is Wordplay from Benartex.  A lot of the fabrics used in the sawtooth paper piecing are from Michael Miller (Mirror Ball dots and the orange swirl), there are some Marblehead fabrics by Ro Gregg and the rest is just random from my stash.  The birdie fabric in the center is a clearance piece of fabric that I found at Hancock's.  I only bought 1 yard of it but I love it and now I'm afraid to use it.  The binding is from the Architextures line by Robert Kaufman.

This was a UFO that I was able to scratch off my 2014 list.  
I hope you liked my little quilt and thanks so much for visiting me at my blog.  Please leave a comment so I know you were here - even if it's just to say hi!
**linking up to Crazy Mom Quilts**

Thursday, March 27, 2014

A Lovely Year of Finishes March Goal - Giant Starburst Quilt

My March goal for "A Lovely Year of Finishes" was to complete my Giant Starburst quilt.  I started March with the quilt top and back completed so it needed to be sandwiched, basted, quilted and bound.  I also needed to complete it because I had committed it for our local quilt show and it needed to be turned in on March 18th.

I am happy to report that I completed my March goal!  YAY!  It was also turned into the quilt show on time even if I only slept for 3 hours the night before.  :)

You can read about the beginning of the quilt here.  I found this pattern at CanoeRidgeCreations.com.  It was a giant starburst quilt a long.  She also has the pattern in a reverse giant starburst which is so cool as well and you can buy the pattern for the mini in her shop.  Click here to go to the instructions for the Giant Starburst.

I'm going to be honest.  I had trouble with this quilt from the very first second.  I purchased the amount of fabric that was required but for 2 of the colors,  I didn't have enough.  I purchased Kona cotton and it is not 45 inches wide.  It's about 42 inches wide - that is not counting the selvedge.  I don't use selvedge when I cut my fabrics.  I'm not sure if the pattern writter used the selvedge or if she just had wider fabric.  I ended up having to go buy more fabric.  
After that, it just continued to go downhill.  Lots of seams ripped out, points that got cut off or didn't meet.  Maybe it was just because I was on a deadline and wanted it to turn out well.  I was so glad when it was done.

I am kind of proud of my quilting.  This is the first time that I used different quilting designs in different parts of the quilt.  It's also the first time that I used different colors of thread.
 I used white thread in the white fabric areas, green in the green, purple in the purple, you get the idea.  I'm really proud of my echo quilting that I did here in the triangles.  This is the largest quilt I've worked with and it was hard turning it back and forth but I love the way it looks.  I really like this quilting style and I want to practice it a lot more.
 I'm not sure what to call the way I quilted the colored parts of the star.  Maybe long zig zags?  You can tell I have a long ways to go on my FMQ but I do think I'm getting better.
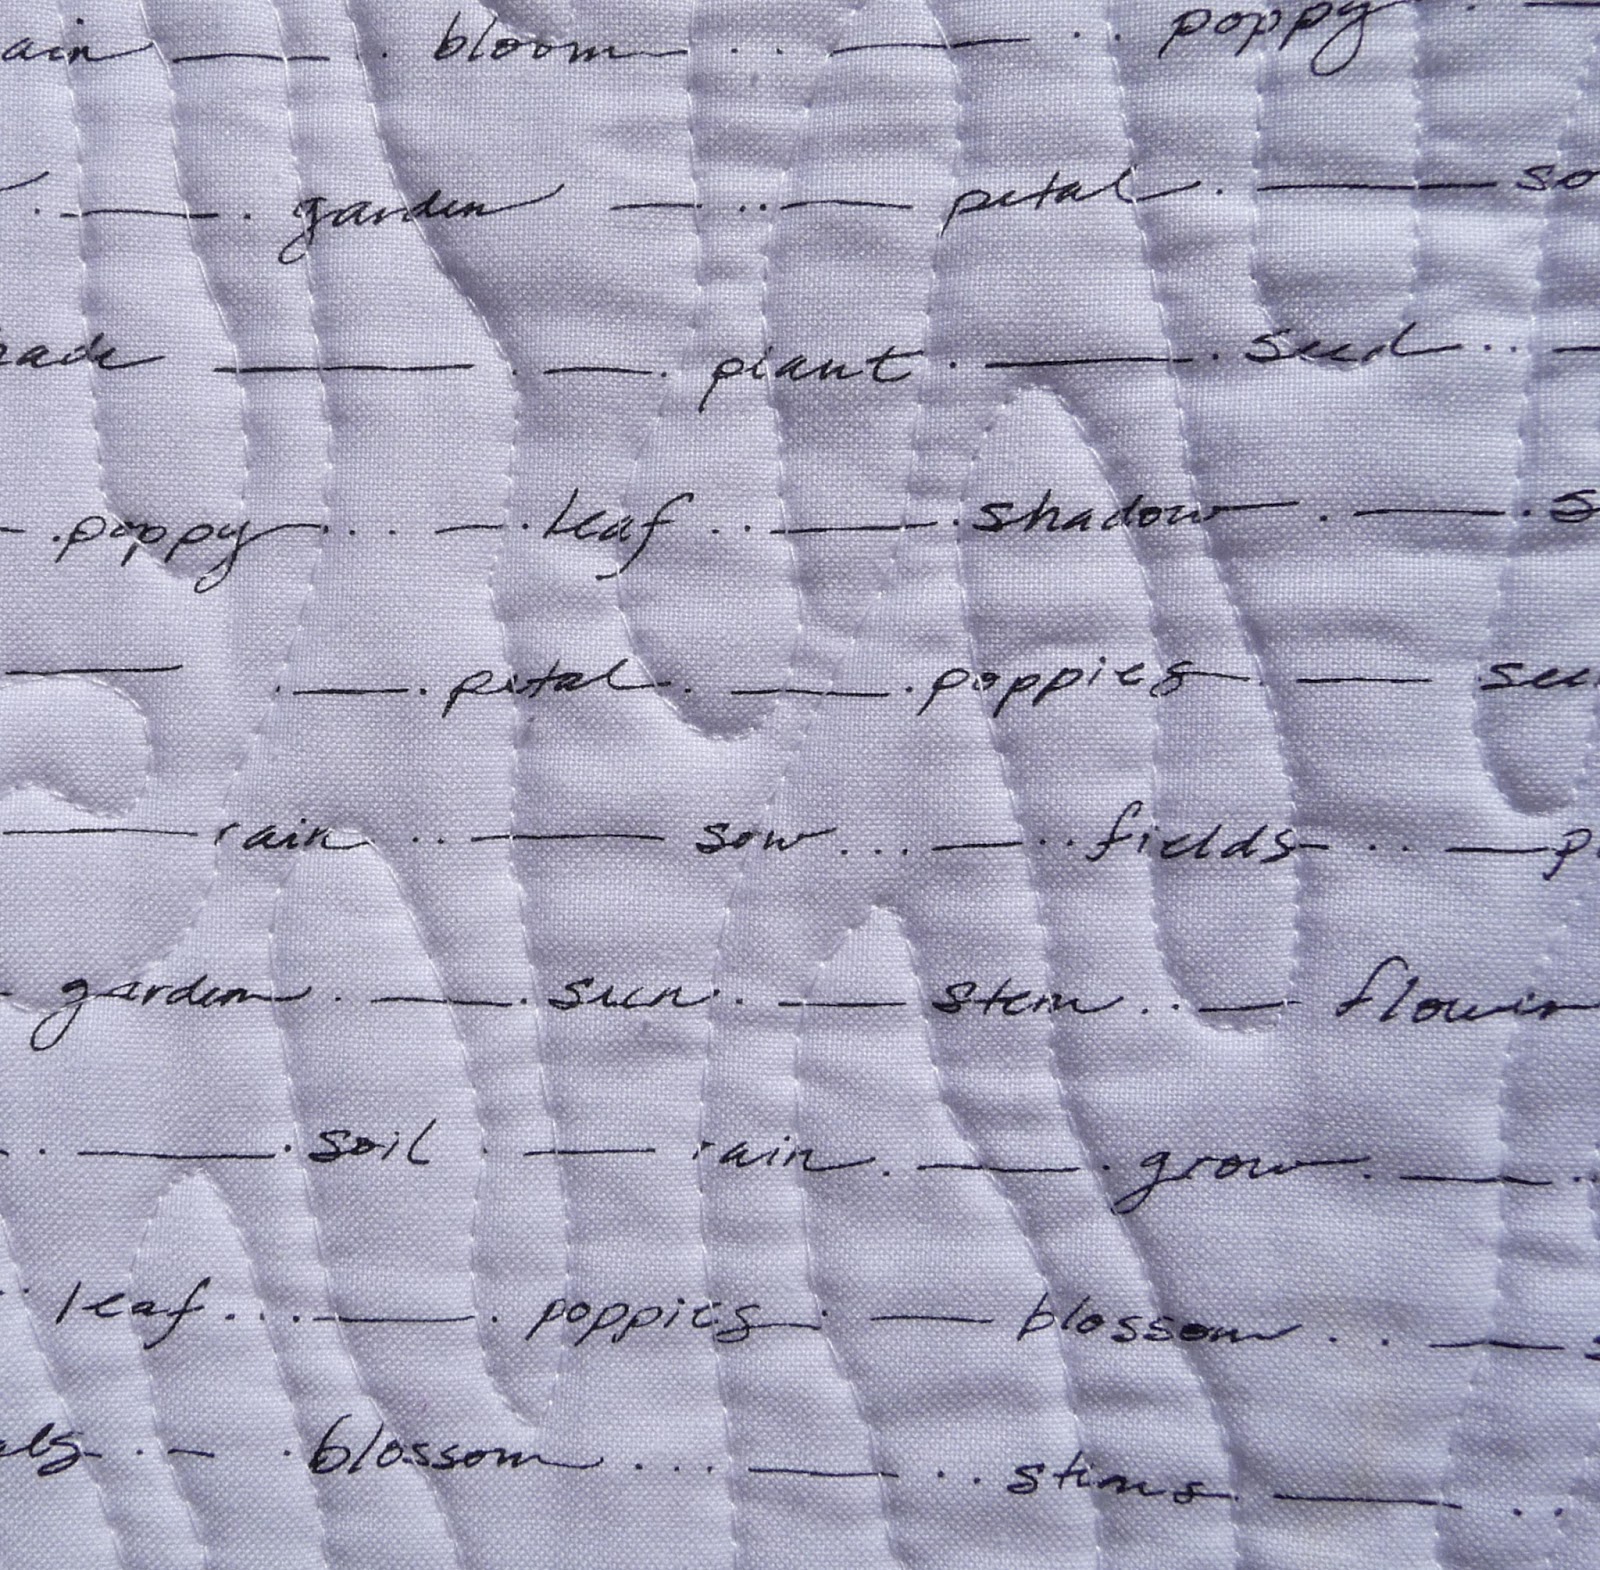
The white fabric is actually a text fabric.  It's a very subtle text.  I didn't want a dense text because I felt like it would change the color - some dense texts can read gray to me.  
I used a loopy meander on the white star areas.  The hardest part to do was the center square of the star.  It was hard to get through my machine and took forever.  I don't know what the deal was with that.
 This is one of the white corner squares.  I like to think of this quilting as creepy ghost fingers.
Here is my quilt back.  Once I finished quilting, I figured out that you couldn't really see all the different types of quilting that I had done.  You couldn't even see the different colors of thread and all because my back was so busy.  I'm going to have to consider that more in the future.  If I want my quilting to show on the back, I need to use a simpler back or even a solid color.

The quilt back is made up of leftover fabric from the front that was cut off when I made my HST's.  The floral fabric is the last I have of that - it is from Michael Miller's Pretty Bird line.  The yellow and white floral is from Riley Blake and the black and white dotted fabric is from Alexander Henry and is called "the dotted line".
 In this picture you can see the blue thread in the quilting on the Pretty Bird fabric.
This quilt label is the best one that I've done so far.  I loved how it turned out.  I got the tutorial from Kelly at My Quilt Infatuation.  Click HERE to go to her tutorial.  I love the idea of zig zagging it and then quilting over it.  I just hope that really is a permanent marker.
 I used my Grape Jelly Pearl Bracelets for the binding.  It used up all I had :(  But that's ok - that's what shopping is for, right?
My binding is a hot mess.  I put it on at 12 midnight on the night before the quilt show.  I knew I wasn't going to win any prizes with this quilt anyway (the competition was pretty stiff and I'm a newbie quilter) and at that point of the night, I just needed to get it done.  I do plan to remove the binding and redo it.  I love that fabric too much to leave it messed up.
 But it looks pretty doesn't it?
I love this text print.
My quilt stats are as follows:
Giant Starburst Quilt
pattern by Megan at Canoe Ridge Creations Blog
Finished size  60 x 60

Fabrics used in the quilt:
Solids are Kona cotton in turquoise, corn yellow, chartreuse, and mulberry.
Text fabric is Poppy Patio by Jill Finley for Henry Glass Studios
Lizzy House Pearl Bracelet in grape jelly for binding
Backing fabrics are listed above.

Pieced and quilted by Tricia Harvey on my domestic machine.  March 2014
Thread used was:
White Aurifil 50 wt. color 2024
Colored thread was all Mettler metrosene 100% polyester
yellow - color 0500
blue - 0890
green - 0952
purple - 0459

I learned a few new things while making this quilt as I seem to do with every quilt so I guess that makes up for the frustration I had during the process.

Thanks for reading!
**Linking up to NTT at My Quilt Infatuation and A Lovely Year of Finishes at Fiber Art of All Sorts**
**Linking up to Anything Goes Monday at Stitch by Stitch**

Thursday, March 20, 2014

A Quilty Finish - QR Bar Code Quilt

**Personal note - I intended for this blog post to go up 2 weeks ago but unfortunately, there was a death in my family.  This combined with a preplanned short spring break trip and preparing for the local quilt show has put a stop to my blog posting for the last 2 weeks.  But I'm back now and I have a quilty finish to talk about today!**

Well, I've gone and done it.  I finally finished my QR Bar Code quilt and I only had to unpick the binding 3 times!


 TADA!  I love it when I finish something because most of the time I just feel like I'm spinning my wheels.

I like this picture because I think you can really see the pattern of the code because of the distance to the quilt.  The closer the quilt is, the more the pattern disappears.
 I went with an organic wave quilting pattern which I also did on my Martha's Cross quilt.
I love this quilting pattern.  It's fun to do and I think it looks great.  Especially on quilts like this that are all squares.
It is quilted with a light gray Aurifil thread number 2600.  I didn't want to use white because of the way it would have contrasted with the turquoise on the back of the quilt.  I wanted the thread to disappear more than white would have.
And this is the awesome back of the quilt.  I used all the leftover squares to make the rectangle of squares in the center.  I used Kona Snow to create a frame around the squares and then finished it off with Kona Turquoise.  I'm not sure if I like the back or front more.  :)
Pretty, yes?  The quilting runs vertically up and down the quilt.

 
This is my label.  I don't like the way I did it.  I found this tutorial online that keeps you from having unfinished edges by sewing 2 squares of fabric together and then turning it right side out so all the seams are on the inside.  Then, you attach it to your quilt back and quilt over it.  I can't remember where I saw the tutorial but I don't like it and probably will never use it again.  The edges are too bulky because of the inside seams and it looks terrible.

But, if you notice at the bottom of the label, there is a scanable QR code that Ebony Love sent me for my label.  If you scan it, my quilt means "HAPPY".

I have since found a tutorial on My Quilt Infatuation that is much better and I've used it 2 times now.  It makes a much prettier label.
And look at the binding.  Not bad huh?  I think I'm getting better.
Quilt Stats:
QR Bar Code Quilt which means Happy
Pattern by Ebony Love

Measures 43 1/2 inches by 43 1/2 inches
Pieced and quilted by Tricia Harvey
Quilted on my home machine, a Brother SE - 400
Finished February 2014

Made with all Kona Cotton in many different colors.  Quilted with Aurifil thread in light gray 2600.
Organic wave quilting.  Binding is the same Kona Turquoise from the back of the quilt.

Ok, now here is a neat FYI.  The is a website - http://www.qrstuff.com/ - where you can go and type in anything and it will give you the QR code.  You need to select "plain text" and then you can type in your name, your kids names or anything, get the code and make your own quilt.  I also thought it would be a neat wedding gift to put in the couples names and the date of their wedding and then make the QR code quilt.

**Linking up to My Quilt Infatuation**