Monday, March 31, 2014

Burying Knots While Quilting

Since I first started quilting, I have been terrified of having to bury knots in my quilts.  That's what I love about straight line quilting.  You just take a couple of extra stitches on each side and done.

If you're starting and stopping in the middle of a quilt to change thread or something - Ack! - you'd have to tie it off and bury the knot.  The horror of horrors!

One of the quilting bloggers that I follow was just talking about this very topic recently - but for the life of me, I can't figure out which blogger it was nor can I find the blog post.  But she directed everyone to the great tutorial written by Amanda Jean over at Crazy Mom Quilts called "how to bury knots when machine quilting".  If anyone reading this knows which blogger I'm talking about, please share in the comments section or send me an email so I can give her proper credit.

So, while I was quilting my Giant Starburst Quilt, I knew I would need to bury some knots since I was using 5 colors of thread.  I scooted on over to Amanda Jean's tutorial and worked through it step by step.  I highly recommend this tutorial.  It is well written and easy to understand. 
 Bring your bobbin thread up to the top before you start quilting.
 Tie a knot in the two pieces of thread.   Thread a needle with the threads.  I used easy threading needles.  I've also heard them called cheater needles.  I bought them at Hancock's on sale but I don't remember the price.
Make a stitch about an inch or so away from the knot - make it a long stitch.
 Pull the thread through.  You will feel or see the knot "pop" under the fabric.
 Cut the threads off and you're done.  You've buried a knot.  

Now I have nothing to fear.  Hahahaha
If I can do this, anyone can.  Don't be afraid, just try.   It's good to learn new skills!

**Linking up to Anything Goes Monday at Stitch by Stitch**

Thursday, March 27, 2014

A Lovely Year of Finishes March Goal - Giant Starburst Quilt

My March goal for "A Lovely Year of Finishes" was to complete my Giant Starburst quilt.  I started March with the quilt top and back completed so it needed to be sandwiched, basted, quilted and bound.  I also needed to complete it because I had committed it for our local quilt show and it needed to be turned in on March 18th.

I am happy to report that I completed my March goal!  YAY!  It was also turned into the quilt show on time even if I only slept for 3 hours the night before.  :)

You can read about the beginning of the quilt here.  I found this pattern at CanoeRidgeCreations.com.  It was a giant starburst quilt a long.  She also has the pattern in a reverse giant starburst which is so cool as well and you can buy the pattern for the mini in her shop.  Click here to go to the instructions for the Giant Starburst.

I'm going to be honest.  I had trouble with this quilt from the very first second.  I purchased the amount of fabric that was required but for 2 of the colors,  I didn't have enough.  I purchased Kona cotton and it is not 45 inches wide.  It's about 42 inches wide - that is not counting the selvedge.  I don't use selvedge when I cut my fabrics.  I'm not sure if the pattern writter used the selvedge or if she just had wider fabric.  I ended up having to go buy more fabric.  
After that, it just continued to go downhill.  Lots of seams ripped out, points that got cut off or didn't meet.  Maybe it was just because I was on a deadline and wanted it to turn out well.  I was so glad when it was done.

I am kind of proud of my quilting.  This is the first time that I used different quilting designs in different parts of the quilt.  It's also the first time that I used different colors of thread.
 I used white thread in the white fabric areas, green in the green, purple in the purple, you get the idea.  I'm really proud of my echo quilting that I did here in the triangles.  This is the largest quilt I've worked with and it was hard turning it back and forth but I love the way it looks.  I really like this quilting style and I want to practice it a lot more.
 I'm not sure what to call the way I quilted the colored parts of the star.  Maybe long zig zags?  You can tell I have a long ways to go on my FMQ but I do think I'm getting better.
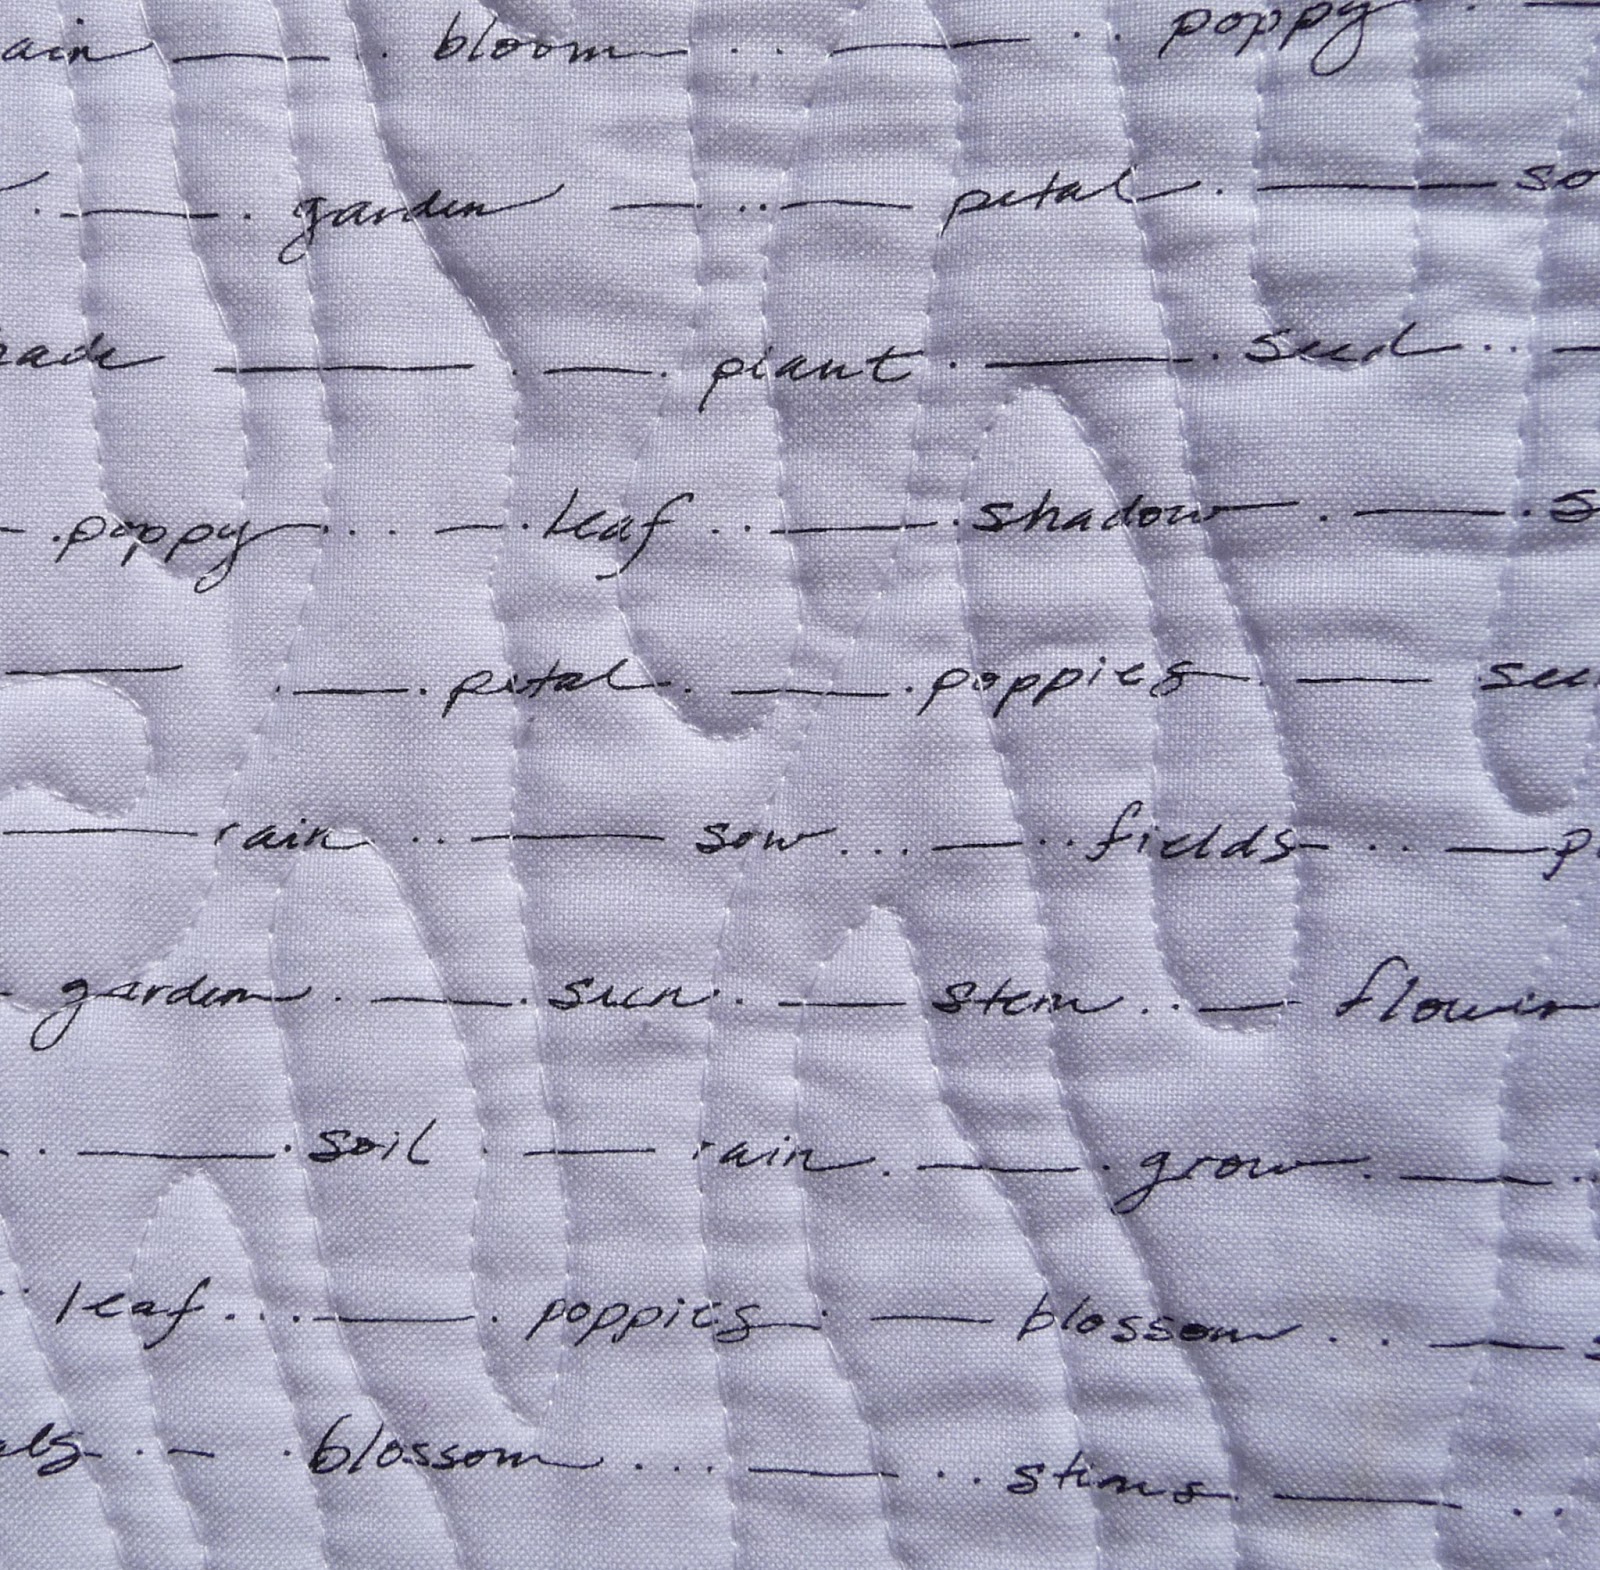
The white fabric is actually a text fabric.  It's a very subtle text.  I didn't want a dense text because I felt like it would change the color - some dense texts can read gray to me.  
I used a loopy meander on the white star areas.  The hardest part to do was the center square of the star.  It was hard to get through my machine and took forever.  I don't know what the deal was with that.
 This is one of the white corner squares.  I like to think of this quilting as creepy ghost fingers.
Here is my quilt back.  Once I finished quilting, I figured out that you couldn't really see all the different types of quilting that I had done.  You couldn't even see the different colors of thread and all because my back was so busy.  I'm going to have to consider that more in the future.  If I want my quilting to show on the back, I need to use a simpler back or even a solid color.

The quilt back is made up of leftover fabric from the front that was cut off when I made my HST's.  The floral fabric is the last I have of that - it is from Michael Miller's Pretty Bird line.  The yellow and white floral is from Riley Blake and the black and white dotted fabric is from Alexander Henry and is called "the dotted line".
 In this picture you can see the blue thread in the quilting on the Pretty Bird fabric.
This quilt label is the best one that I've done so far.  I loved how it turned out.  I got the tutorial from Kelly at My Quilt Infatuation.  Click HERE to go to her tutorial.  I love the idea of zig zagging it and then quilting over it.  I just hope that really is a permanent marker.
 I used my Grape Jelly Pearl Bracelets for the binding.  It used up all I had :(  But that's ok - that's what shopping is for, right?
My binding is a hot mess.  I put it on at 12 midnight on the night before the quilt show.  I knew I wasn't going to win any prizes with this quilt anyway (the competition was pretty stiff and I'm a newbie quilter) and at that point of the night, I just needed to get it done.  I do plan to remove the binding and redo it.  I love that fabric too much to leave it messed up.
 But it looks pretty doesn't it?
I love this text print.
My quilt stats are as follows:
Giant Starburst Quilt
pattern by Megan at Canoe Ridge Creations Blog
Finished size  60 x 60

Fabrics used in the quilt:
Solids are Kona cotton in turquoise, corn yellow, chartreuse, and mulberry.
Text fabric is Poppy Patio by Jill Finley for Henry Glass Studios
Lizzy House Pearl Bracelet in grape jelly for binding
Backing fabrics are listed above.

Pieced and quilted by Tricia Harvey on my domestic machine.  March 2014
Thread used was:
White Aurifil 50 wt. color 2024
Colored thread was all Mettler metrosene 100% polyester
yellow - color 0500
blue - 0890
green - 0952
purple - 0459

I learned a few new things while making this quilt as I seem to do with every quilt so I guess that makes up for the frustration I had during the process.

Thanks for reading!
**Linking up to NTT at My Quilt Infatuation and A Lovely Year of Finishes at Fiber Art of All Sorts**
**Linking up to Anything Goes Monday at Stitch by Stitch**

Tuesday, March 25, 2014

Dallas Quilt Show 2014 - Modern Theme

A couple of weeks ago, we took a short spring break trip to Dallas.  Of course, this trip just happened to coincide with the Dallas Quilt Guild's quilt show.  Their theme this year was modern and I was anxious to see how they pulled it off since our local quilt show's theme for this year is also modern.

How would they compare?  Would their members be willing to think outside the box and embrace the modern theme.  I know some of our guild members have had trouble with this theme with some being against it.  One difference is that Dallas has a Modern Quilt Guild chapter - we don't.  I expected to see entries from the MQG and I did.  But as I looked through the rows of beautiful quilts - there were over 400 - my personal opinion based on what I saw was that they had a bit of trouble with the modern theme too.  I think change comes slowly to Texas and is not often embraced as a positive thing.

Here are some of the quilts that I liked best.  Some are modern and some are art quilts. 

 String Theory by Heather Preggar
 Monochrome 12 - Termites by Barbara Lange  - The termites are 3 dimensional which was so cool.
 Umbrellas in the City by Terri Krysan
 Floating the Pinks by Susan Hoge
 Floating the Pinks again - I really thought the way she made this was cool.

 Chihuly's Gondola by Melissa Sobotka - This quilt won the Best of Show award at the Houston Quilt Festival this past fall.  It is incredible to see in person.
 I'm Still Here by Carla Hamm - This quilt really spoke to me.  It was a self portrait.  On her card, she talked about experiencing loss in the past year and how she wanted to make this quilt to show she was still here. 
 Roamer's Way by Shannon Page who is the president of the Dallas Modern Quilt guild.  She won second place with this quilt in the Riley Blake Modern Quilt guild fabric challenge recently.  I recognized the quilt right away.  You can read more about the Riley Blake challenge here.  I think the purple ribbon in this picture represents honorable mention but I'm not sure.

I took a lot more pictures but I thought I'd stop there since this is such a long post.

Now for some personal birthday pics.  We went to a hamburger joint called Snuffer's that we had never been to before.  They had great hamburgers and these:
 French fries with cheddar cheese and bacon.  My husband and I shared a small order.  They were a heart attack on a plate but so good!
 Here I am forcing my son to take a picture with me.
Me and my sweetie.

Ok.  I'm done now.  Thanks for letting me ramble on.

Thursday, March 20, 2014

A Quilty Finish - QR Bar Code Quilt

**Personal note - I intended for this blog post to go up 2 weeks ago but unfortunately, there was a death in my family.  This combined with a preplanned short spring break trip and preparing for the local quilt show has put a stop to my blog posting for the last 2 weeks.  But I'm back now and I have a quilty finish to talk about today!**

Well, I've gone and done it.  I finally finished my QR Bar Code quilt and I only had to unpick the binding 3 times!


 TADA!  I love it when I finish something because most of the time I just feel like I'm spinning my wheels.

I like this picture because I think you can really see the pattern of the code because of the distance to the quilt.  The closer the quilt is, the more the pattern disappears.
 I went with an organic wave quilting pattern which I also did on my Martha's Cross quilt.
I love this quilting pattern.  It's fun to do and I think it looks great.  Especially on quilts like this that are all squares.
It is quilted with a light gray Aurifil thread number 2600.  I didn't want to use white because of the way it would have contrasted with the turquoise on the back of the quilt.  I wanted the thread to disappear more than white would have.
And this is the awesome back of the quilt.  I used all the leftover squares to make the rectangle of squares in the center.  I used Kona Snow to create a frame around the squares and then finished it off with Kona Turquoise.  I'm not sure if I like the back or front more.  :)
Pretty, yes?  The quilting runs vertically up and down the quilt.

 
This is my label.  I don't like the way I did it.  I found this tutorial online that keeps you from having unfinished edges by sewing 2 squares of fabric together and then turning it right side out so all the seams are on the inside.  Then, you attach it to your quilt back and quilt over it.  I can't remember where I saw the tutorial but I don't like it and probably will never use it again.  The edges are too bulky because of the inside seams and it looks terrible.

But, if you notice at the bottom of the label, there is a scanable QR code that Ebony Love sent me for my label.  If you scan it, my quilt means "HAPPY".

I have since found a tutorial on My Quilt Infatuation that is much better and I've used it 2 times now.  It makes a much prettier label.
And look at the binding.  Not bad huh?  I think I'm getting better.
Quilt Stats:
QR Bar Code Quilt which means Happy
Pattern by Ebony Love

Measures 43 1/2 inches by 43 1/2 inches
Pieced and quilted by Tricia Harvey
Quilted on my home machine, a Brother SE - 400
Finished February 2014

Made with all Kona Cotton in many different colors.  Quilted with Aurifil thread in light gray 2600.
Organic wave quilting.  Binding is the same Kona Turquoise from the back of the quilt.

Ok, now here is a neat FYI.  The is a website - http://www.qrstuff.com/ - where you can go and type in anything and it will give you the QR code.  You need to select "plain text" and then you can type in your name, your kids names or anything, get the code and make your own quilt.  I also thought it would be a neat wedding gift to put in the couples names and the date of their wedding and then make the QR code quilt.

**Linking up to My Quilt Infatuation**

Wednesday, March 5, 2014

WIP Wednesday - Aurifil BOM's

It's Wednesday already!  Why do the weeks go by so fast?

Today I should be sandwiching and basting my Giant Starburst quilt but instead I'm working on the Aurifil Thread BOM blocks.  I've printed the instructions out for all three months so far this year but I haven't had a chance to make any of them.
  
If you aren't familiar with the Aurifil BOM, here is the link to January's block.  
You can sign up for the newsletter and they will email each months Designer block to you.  If you complete the block and post your picture to their flicker page, you can be chosen to win an Aurifil thread prize each month.  YAY!
This above block is the March block.  I have the fabric cut out for my January and March blocks.  I'm out of Kona White yardage and had to order more so I couldn't cut out the February block.  Can you believe I ran out of white?  But at least I caught the tail end of the Robert Kaufman sale that fabric.com had this past weekend.
 I fussy cut these little bunny's for my center block.  Sweet huh? 
And here is the March finished block!  Still working on January.

Thanks so much for stopping by my blog!

**Linking up to Lee at Freshly Pieced**

Sunday, March 2, 2014

A Lovely Year of Finishes March Goals

Well, February was my first time to participate in "A Lovely Year of Finishes" and I didn't accomplish my goal.  :(

My goal was to finish my Giant Starburst quilt top, finish the backing, baste it, quilt it, and bind it.  I think I should have just chosen one or two of those things.  Live and learn.

I do have the top finished and the backing.  

Top:
 And a really bad, wrinkly picture of the back:


So, I'm rolling this goal over for March - to complete my Giant Starburst quilt.  
March 18th is the day we have to turn in our quilts for our local quilt show and since I've already committed this quilt, I really need to get it finished.  I'm determined.

**Linking up to A Lovely Year of Finishes at Fiber of All Sorts**